How to manage DNS records on Cloudflare?
Have you done with the Clouflare setup procedure? Now, let’s see how to manage DNS records.
Are you ready?
As always, let’s start the topic without any further due.
Steps to manage DNS records:
You just need to follow these simple steps mentioned below in order to add or manage DNS records on Cloudflare.
Here we go…
STEP 1 – Copy Cloudflare Nameservers
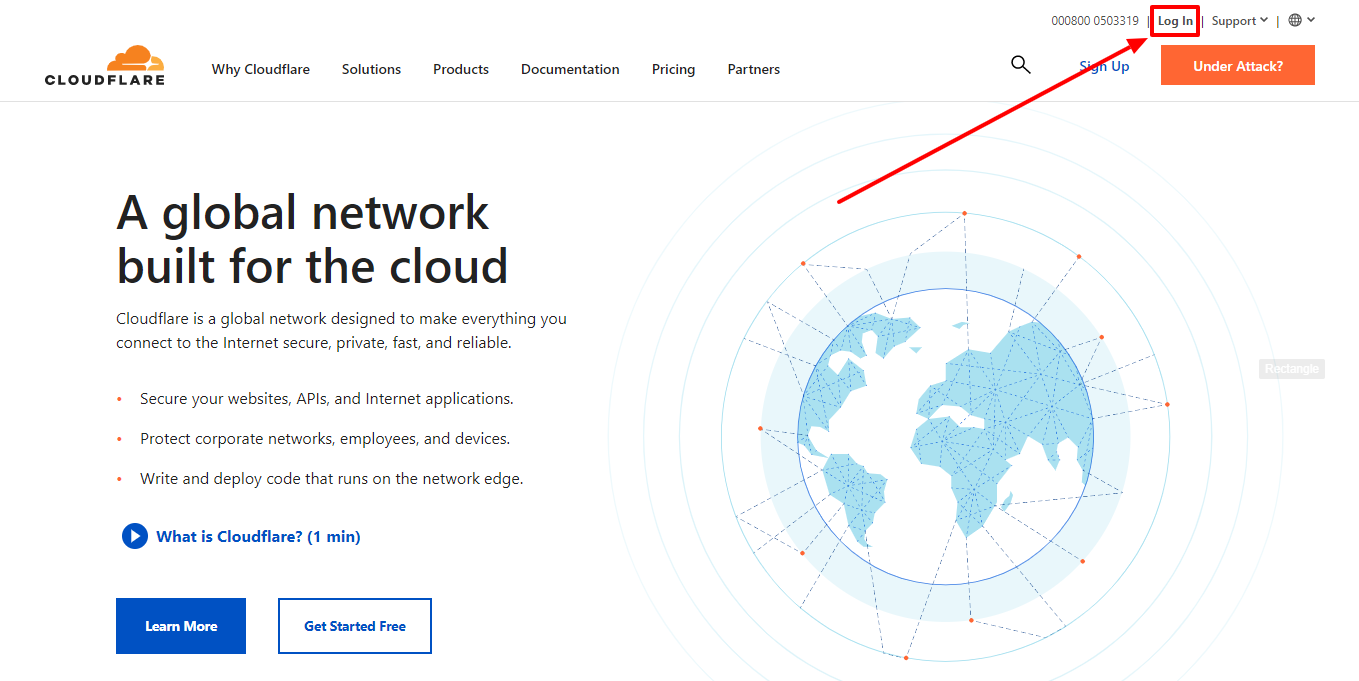
- Go to Cloudflare.
- Click on the “Login” button.
- Fill up the email & password.
- Hit the login button.
- Select your website.
- Copy cloudflare nameservers one by one and change it with your domain nameserver.
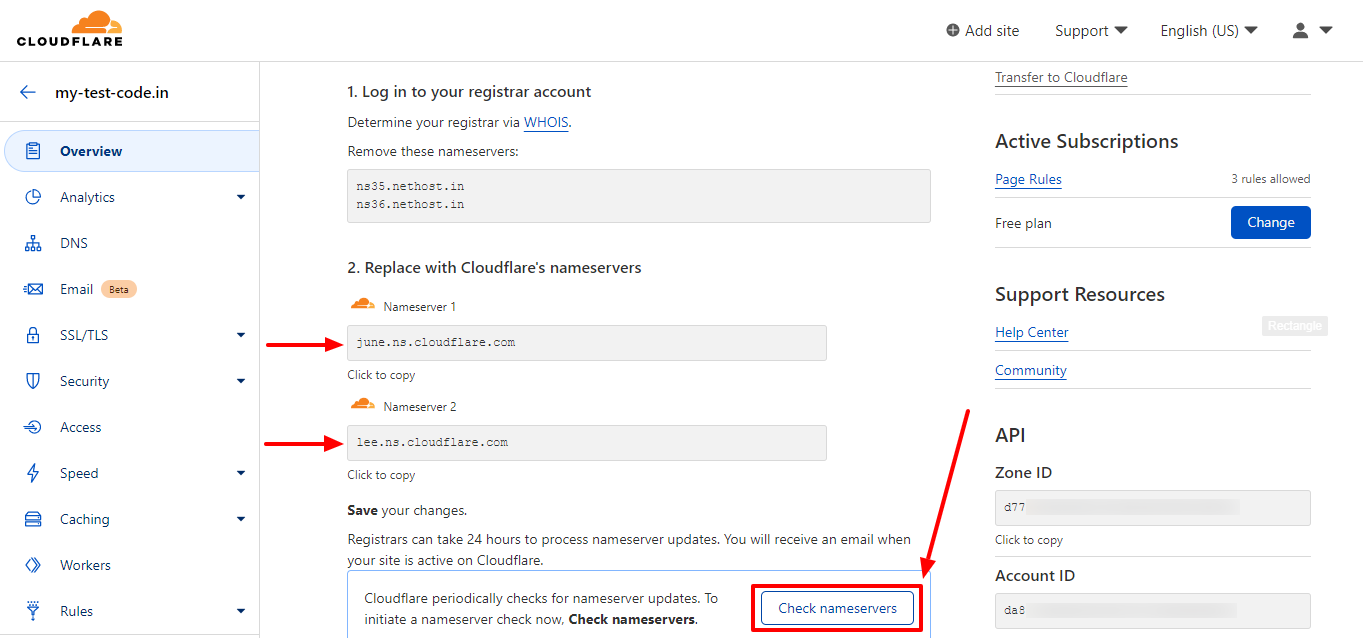
- After completing the next step (STEP 2), you’ll have to come back here and then will have to click on the “Check Nameservers” button.
- Note:- It can take up to 24 hours to process nameservers update. So, you’ll need to have some patience.
STEP 2 – Change Your Domain Nameserver
Log in to your client area from where you’ve purchased your domain.
- Go to NinzaHost.
- Click on Login button.
OR, Click here to go to Client Area login page.
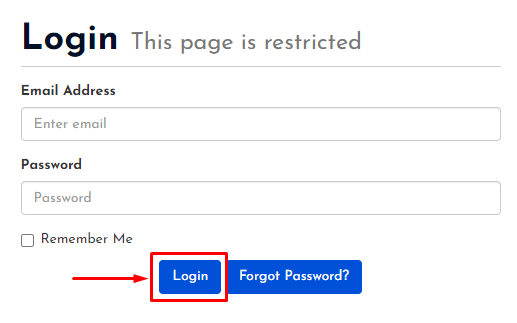
- Login your account with your Email & Password.
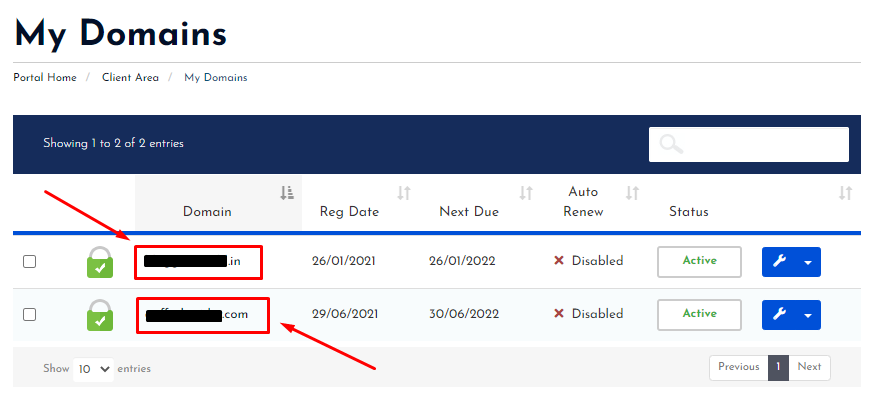
- Now, click on the “DOMAINS” section.
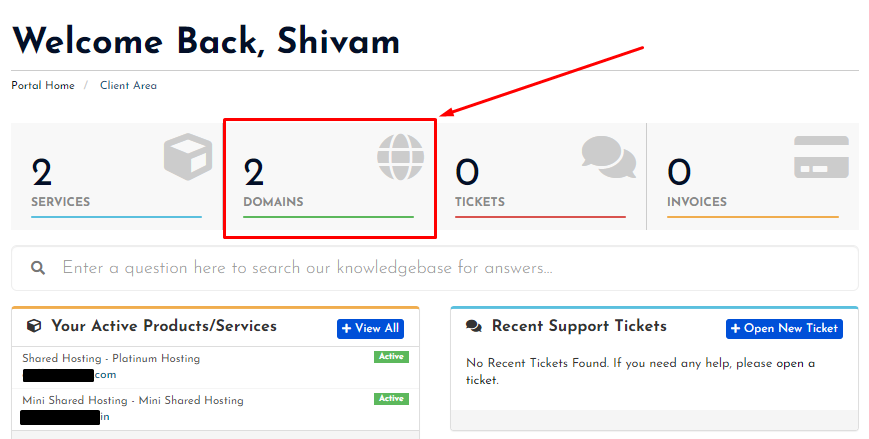
- Here, you will see all your domains.
- Select your Domain of which you want to change the nameserver.
- Now, click on the Nameservers.
- Select “Use Custom Nameservers”.
- Paste both Cloudflare nameservers one by one.
- Then, click on the “Change Nameservers” button.
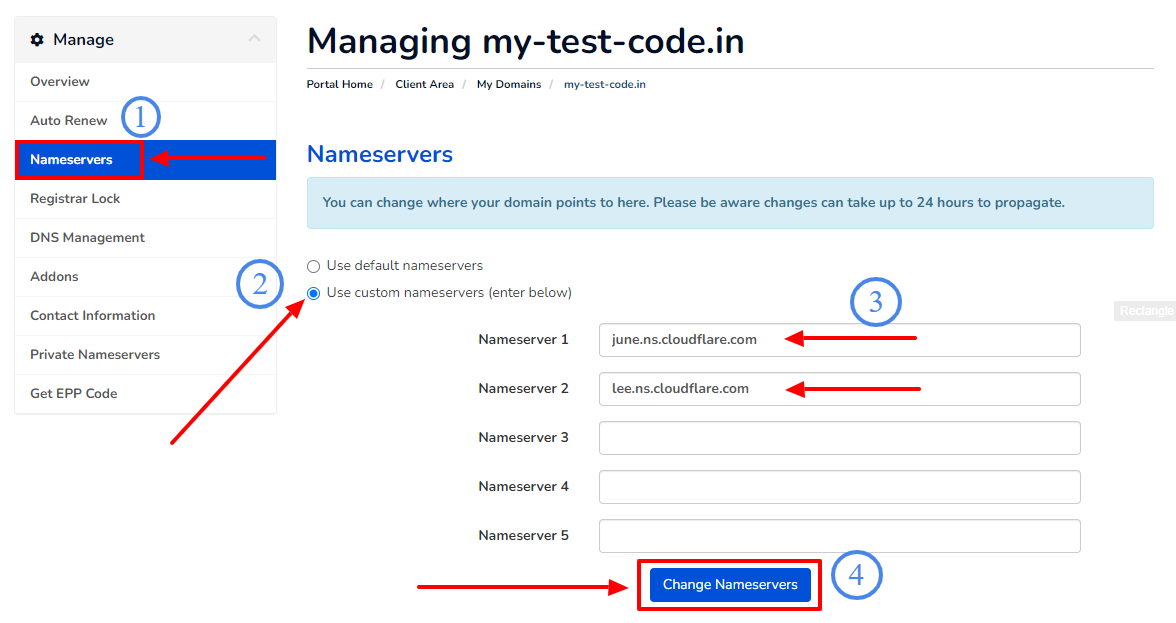
- You’ll get a success message soon.
STEP 3 – Manage DNS Records
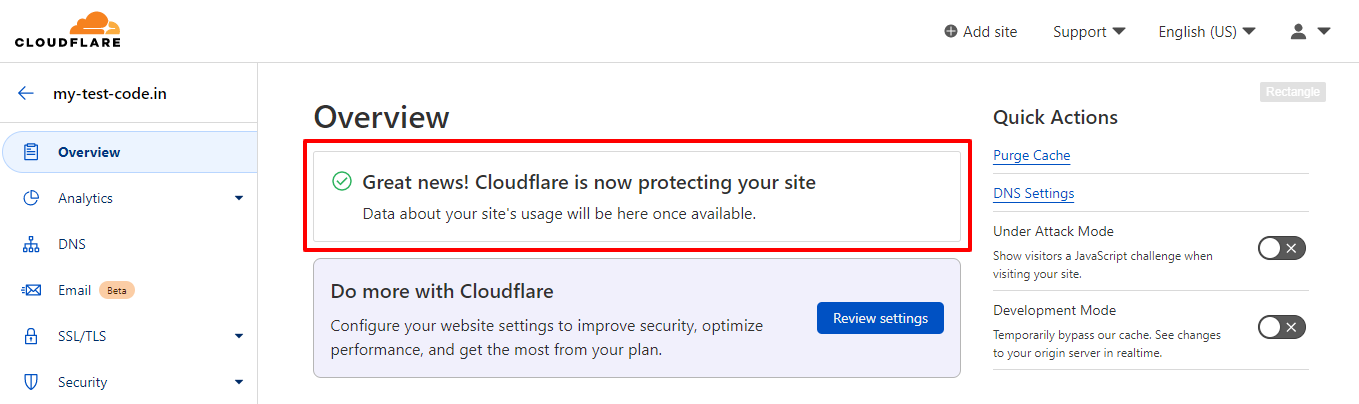
- You’ll have to back again on Cloudflare.
- Now, select your website.
- If you get this message as shown below on Overview section then follow next step or else wait for few more minutes.
- Now, click on the “DNS” from left sidebar.
- Click on the “Add Record” button.
- Add the records you need.
- Then, click on the save button.
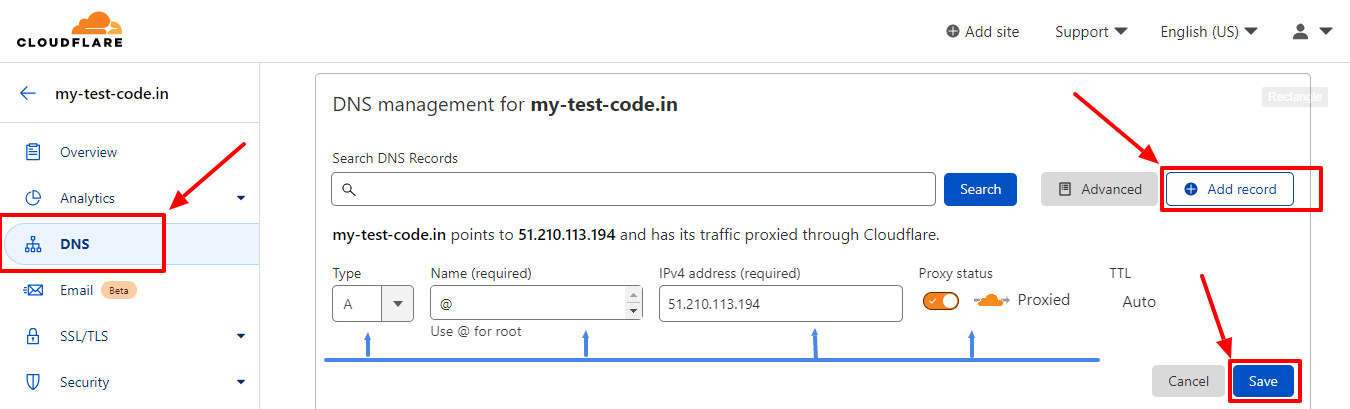
- That’s it, you are done.
Thanks for reading this article. Hope, you are now understand how you can add or manage DNS records on Cloudflare.
If you still have any doubts or suggestions then please let us know through your comments in the comments section below.