How to increase maximum upload size from cPanel?
Do you want to increase maximum upload size of your files? Don’t worry!
In this article, you will learn how you can easily increase maximum upload size from cPanel.
Without any further due, let’s move on to the topic…
Steps to increase maximum upload size from cPanel :
Follow all the steps mentioned in this article in order to increase maximum upload size of your files.
Here we go…
STEP 1 : Login To Your cPanel Account
- Go to NinzaHost.
- Login your Account.
- Select your Active Product/Services.
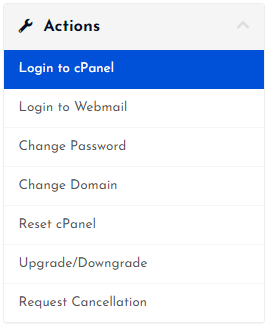
- Click on “Login to cPanel” under Action Tab.

- Then you will automatically redirected to your cPanel Account.
Or, If you have cPanel login details then you can easily login to your cPanel account by visiting yourdomain.com/cpanel.
STEP 2 : Go To MultiPHP INI Editor
- Search “INI Editor” in the search bar.
- Go to “MultiPHP INI Editor” as shown below.

- Wait for few seconds until the next page appears.
STEP 3 : Increase Maximum Upload Size
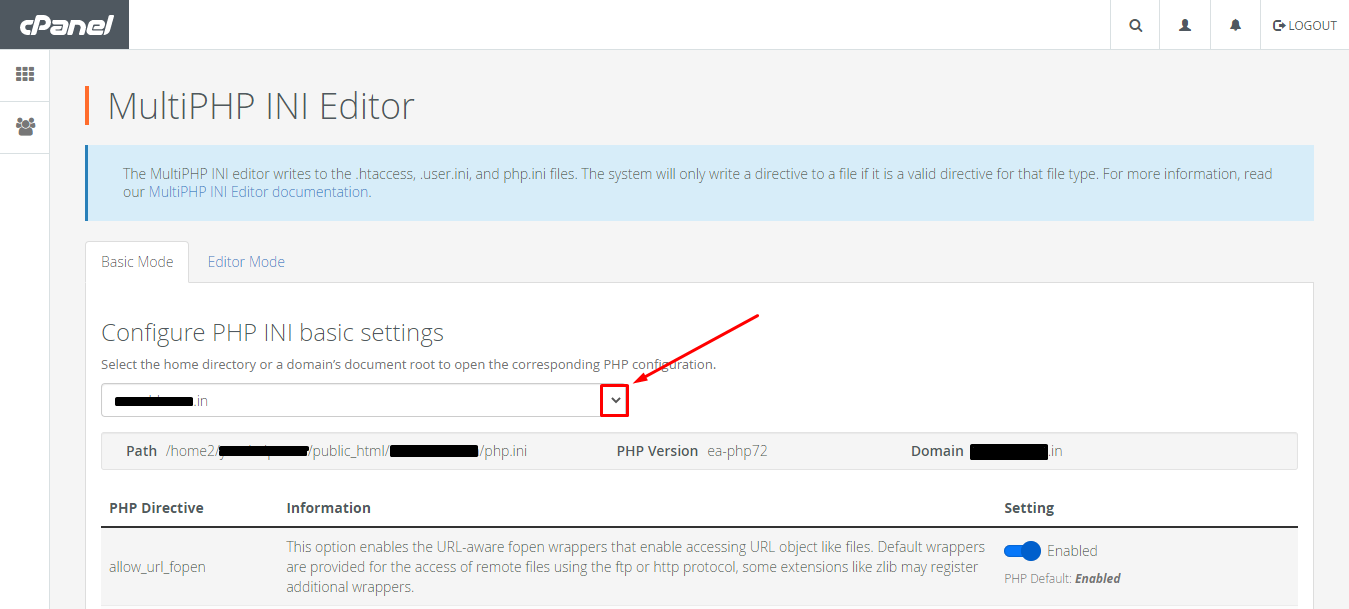
First of All, you need here to select the home directory or a domain’s document root to open the corresponding PHP configuration.
- Simply, click on the Dropdown.
- Then, select your directory or root.

- Scroll down the page.
- Now, increase the following variables like :
- upload_max_filesize (according to your wish)
- post_max_size (It should be larger than or equal to upload_max_filesize)
- memory_limit (It should be larger than or equal to post_max_size)
- max_execution_time (It’s optional, but can prevent timeout errors for large files)
NOTE : The maximum size for these variables is 2GB.
- Then, click on “Apply”.
- That’s it, you are done!
Thanks for reading this article. Hope, you found this article helpful and your query regarding how to increase maximum upload size from cPanel is now solved.
If you still have any query or doubt then please let us know through your comments in the comment section below.


