
How to install WordPress through Client Area ?
In this article, you will learn how to install WordPress through the client area in few steps.
Follow Below Steps :
Step: 1
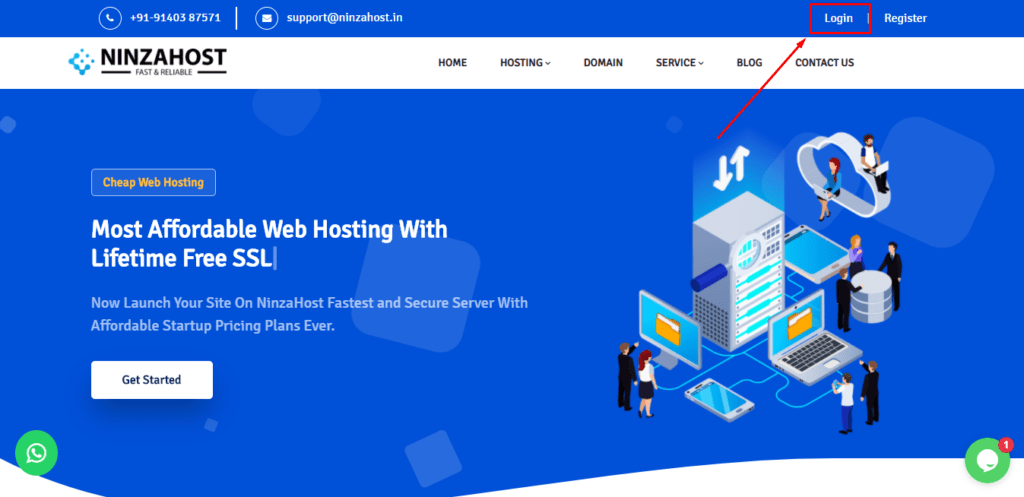
First, you need to login to the client area (NinzaHost account).
Step: 2
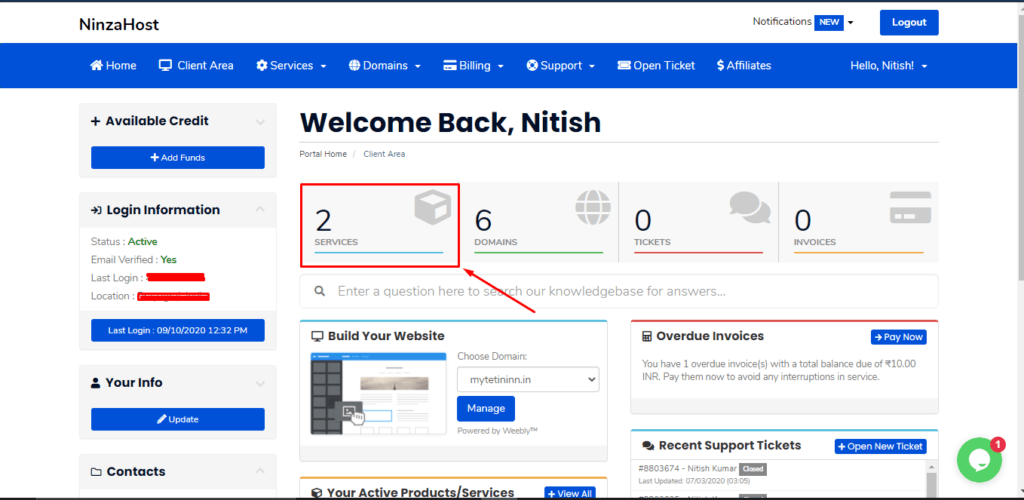
Click on “Services” Option
Step : 3
Select “Plan/Service” in which you want to install WordPress.

Step: 4
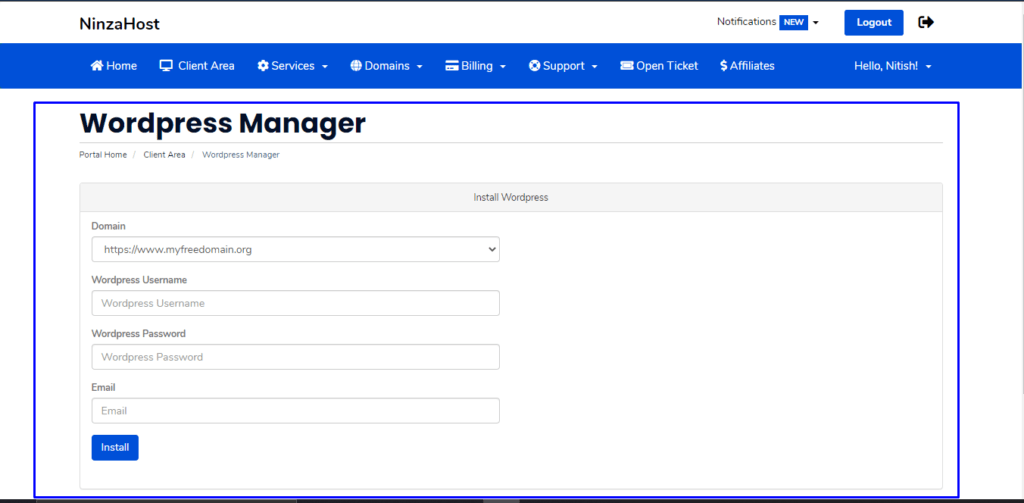
On the left – bottom side, inside the ” WordPress Manager ” tab, there is an option for “ Install WordPress ” Click on that.

Step: 5
Fill Details and then click on the” Install ” button.
Thanks For Reading this article if still having any issue kindly ping us over chat.


May 22, 2024 at 6:39 am |
[…] If you want to install WordPress in just 1 click then read this article – How To Generate WordPress Backup From Softaculous […]