Skip to content

NinzaHost Blog

NinzaHost Blog

  • Home
  • Hosting
  • Contact Us
  1. Home
  2. /Domain
  3. /How to manage DNS Records from Client Area?
How to manage DNS Records from Client Area

How to manage DNS Records from Client Area?

Clientarea, Domain / June 5, 2022 / NinzaHost

Do you want to edit, remove & manage your DNS Records? If yes, you’ve reached at the right place as today we’re going to discuss simple steps that will help you to manage DNS records easily.

Without wasting any sort of time, let’s directly move onto the topic…

Steps to manage DNS Records :

You just need to follow these simple steps mentioned below to add, remove or manage DNS Records easily from your clientarea.

Here we go…

STEP 1 – Login To Your Client Area

  • Go to NinzaHost.
  • Click on Login button.
OR, Click here to go to Client Area login page.
Login to the NinzaHost account
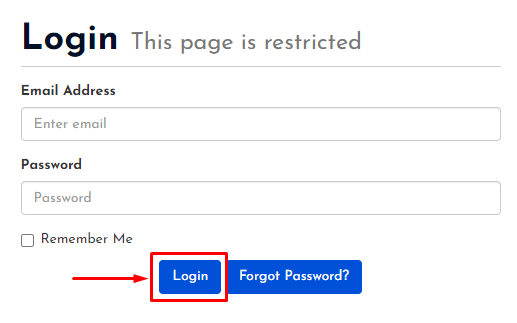
  • Login your account with your Email & Password.

STEP 2 – Select Your Domain

  • Click on the “DOMAINS” section.
Go To Domains Section
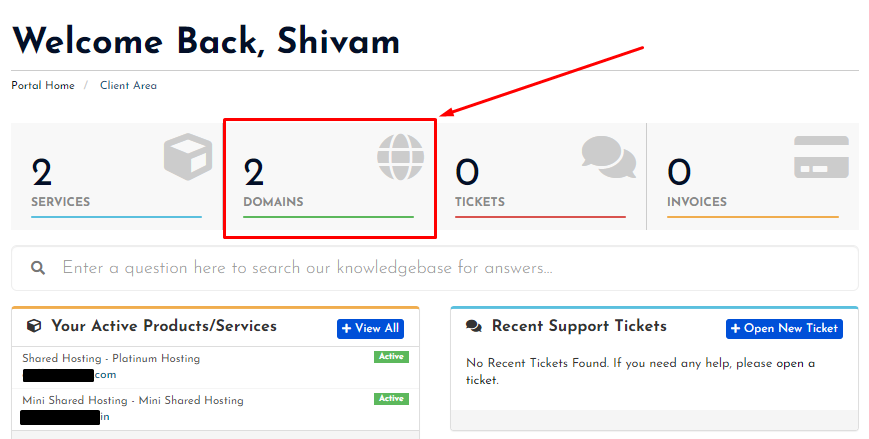
  • Here, you will see all your domains.
  • Select your Domain of which you want to manage the DNS Records.
Select Your Domain Name
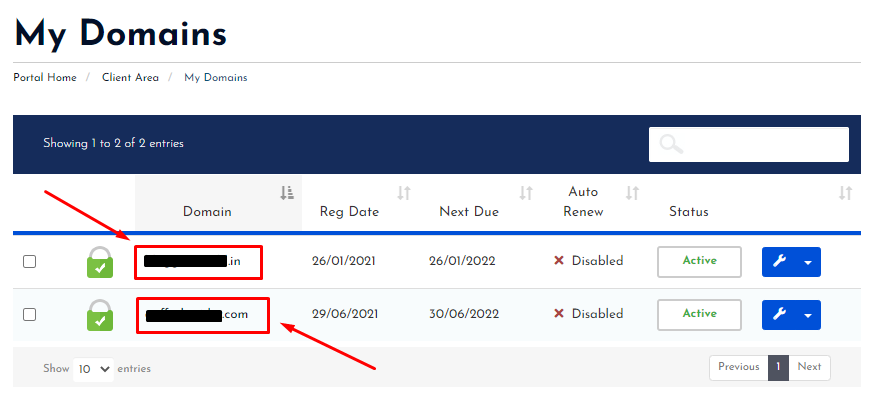
  • Wait for few seconds until next page appears.

STEP 3 – Manage DNS Records

  • Click on “DNS Management” under Manage Tab in left sidebar.
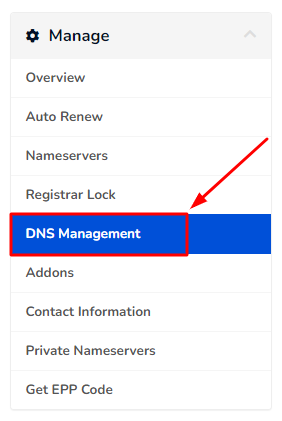
  • In the next page, you can manage your DNS records.
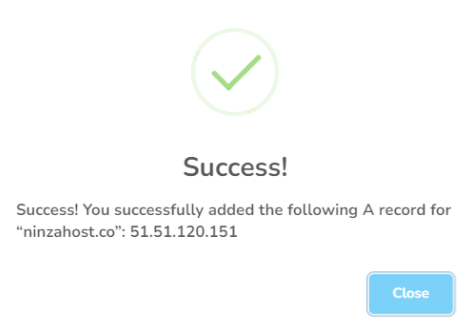
  • In order to Add Any Record, you have to:
    • Provide Host Name
    • Choose Record Type
    • Give the Address
    • Then, click on the “Add Record” button.
Add DNS Records
  • Soon, success popup will appear like this:
  • In case you need to delete any record, just do this:
    • Choose which DNS record to delete (for eg. “test” which we just created)
    • For eg. “test” which we just created above.
    • Click on the REMOVE button.
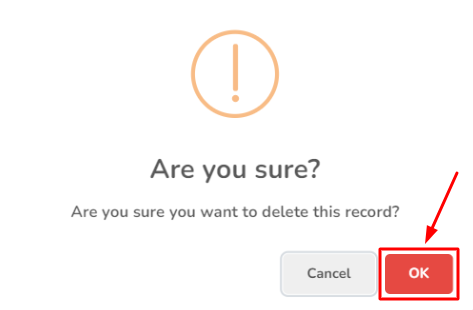
  • After that, you will get an alert. Click “OK” if you are sure to delete that record.
Delete DNS Record
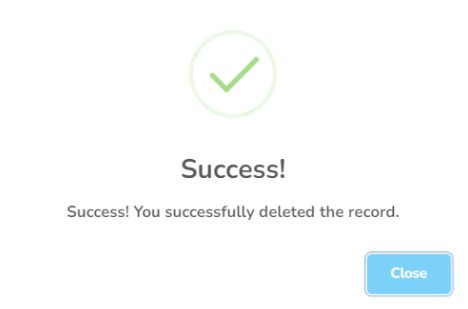
  • Soon, you will receive a success popup saying the record is deleted.
  • That’s it, you are done.

Thanks for reading this article. Hope, you are now understand how you can easily add, remove or manage DNS records.

If you still have any doubts or suggestions then please let us know through your comments in the comments section below.

Post Views: 157

Add Records, Delete DNS Records, DNS Records, Manage DNS Records, Manage DNS Records from Client Area

NinzaHost

Affordable Web Hosting Provider

How to renew your services before due date? How to setup Cloudflare on your website?

Related posts

How to Enable ID Protection for Your Domain

How to Enable ID Protection for Your Domain?

How to get your domain Authentication Code from Client Area

How to get your Domain Authentication Code from Client Area?

How to Enable Transfer Lock for Your Domain?

How to Enable Transfer Lock for Your Domain?

How to setup Auto-Renewal for your domain?

How to setup Auto-Renewal for your domain?

How to Manage DNS Records from Client Area?

How to Manage DNS Records from Client Area?

How to Change Domain Nameservers in NinzaHost?

How to Change Domain Nameservers in NinzaHost?

Latest posts

How to Enable ID Protection for Your Domain

How to Enable ID Protection for Your Domain?

How to get your domain Authentication Code from Client Area

How to get your Domain Authentication Code from Client Area?

How to check and reply to your opened tickets

How to Check & Reply To Your Opened Tickets

How to renew your web hosting service?

How to renew your web hosting service?

How to View and Pay Your Invoice from Client Area?

How to Enable Transfer Lock for Your Domain?

How to Enable Transfer Lock for Your Domain?

SEARCH HERE

Recent Posts

  • How to Enable ID Protection for Your Domain?
  • How to get your Domain Authentication Code from Client Area?
  • How to Check & Reply To Your Opened Tickets
  • How to renew your web hosting service?
  • How to View and Pay Your Invoice from Client Area?

Copyright © 2025 NinzaHost

Search