
How to create a Full Website Backup using cPanel?
Do you want to create a full website backup?
Don’t worry!
Today, you gonna learn how you can easily create a full backup of your website using cPanel.
Here we go…
How to Create a Full Website Backup?
You will have to follow some steps as mentioned in this article in order to create your full website backup.
STEP 1 – Login to cPanel Account
- Go to NinzaHost.
- Login your Account.
- Select your Active Product/Services.
- Click on “Login to cPanel” under Action Tab.
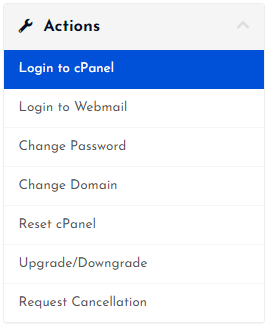
- Then you will automatically redirected to your cPanel Account.
Or, If you have cPanel login details then you can easily login to your cPanel account by visiting yourdomain.com/cpanel.
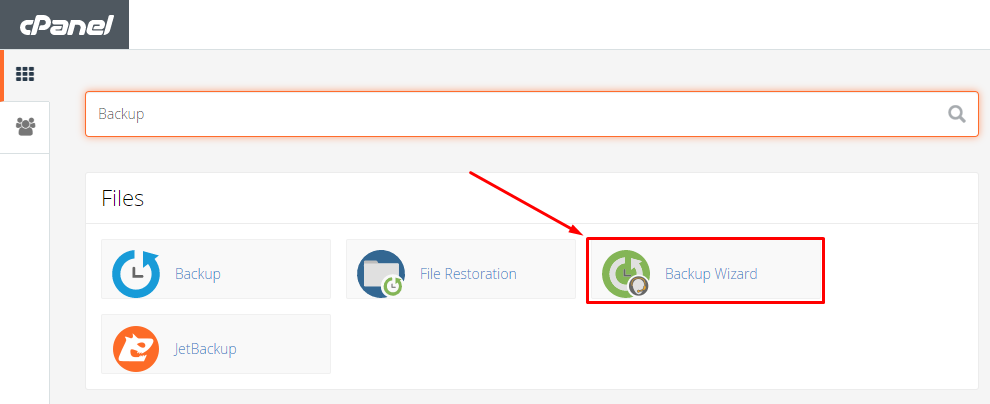
STEP 2 – Go to Backup Wizard
- Search “Backup” in the search bar.
- Click on the “Backup Wizard”.
- Done! Now, you just need to create a full website backup.
STEP 3 – Create a Full Website Backup
Now, you just need to create a full backup of your website and then download it.
Here is what you need to do next :
- Click on “Backup” button.
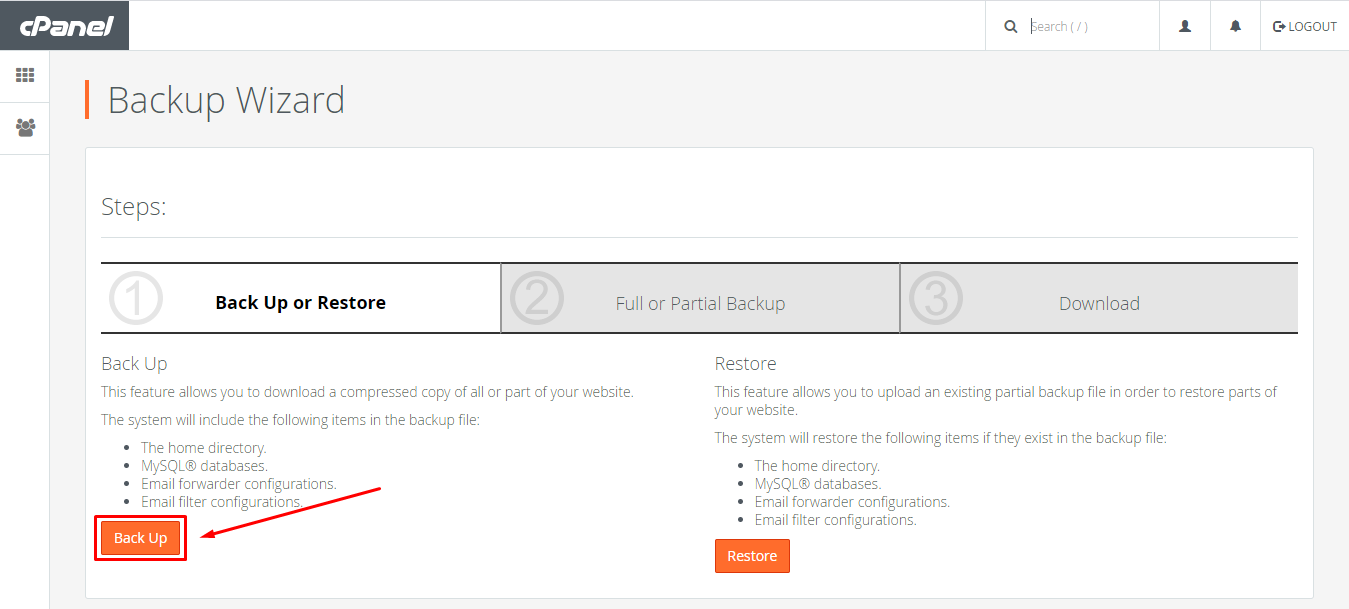
You have two options here i.e. Full Backup or Select Partial Backup.
Since, we need to create a full website backup. Therefore :
- Click on “Full Backup” button.

- Select “Backup Destination”.
- Fill up “Email Address” in order to get notified when backup is complete.
- Then, click on “Generate Backup” button.

- Now, wait for sometime until the completion of Backup.

- When Full Backup gets completed then you just need to download it.
- Click on the Backups available.
- Download will start automatically.
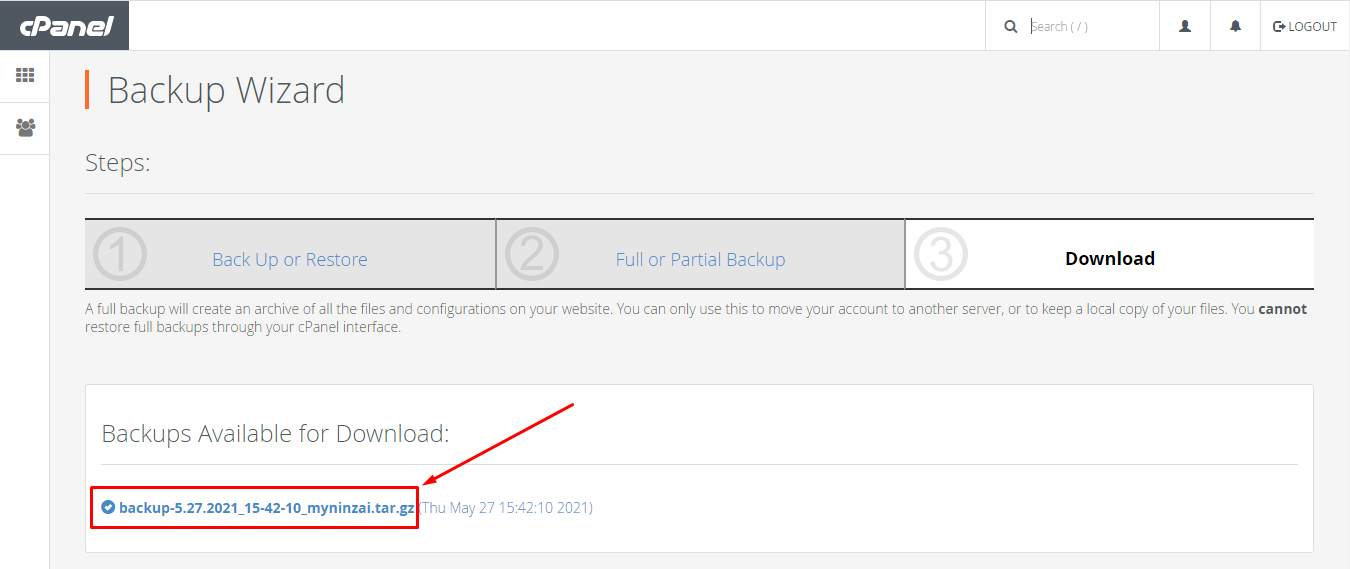
- Congrats! you have completed all the steps.
If you still have any issue then let us through the comment section.


Leave a Comment